When I was staging my son’s room, I was looking for a trendy, subtle way of incorporating the nautical theme. I still wanted it to feel like “his” bedroom without alienating potential buyers. That is how I got the idea of replacing the shelf above his dresser with two hanging shelves.
What better way to display items than on stylish floating shelves? I built these DIY floating shelves in his bedroom, but they would look great in your living room, den, bathroom, or just about any room of the house. This easy tutorial will show you how to build these DIY floating shelves in your home. Just follow the step-by-step instructions.
What you’ll need:
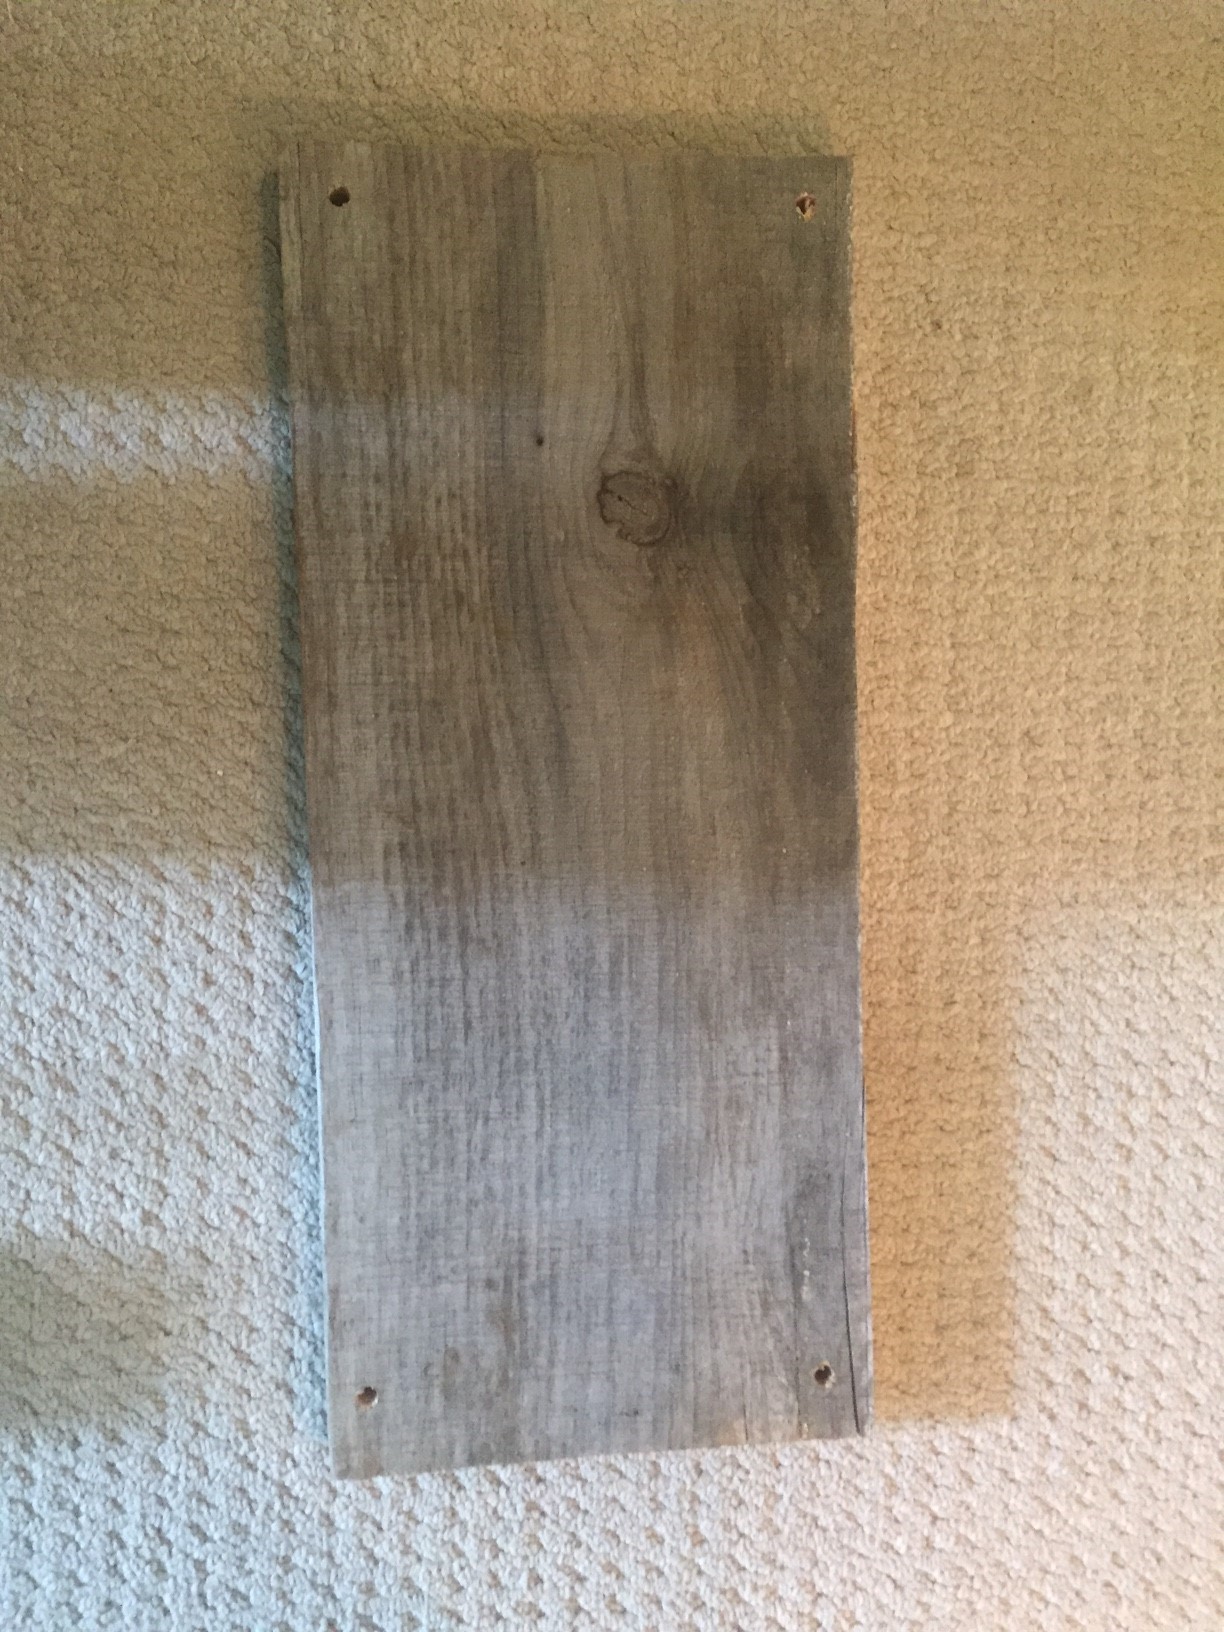
- 2 pine boards of the size you need (we already had barn wood laying around, it’s 15 inches in depth & 24 inches wide)
- 4 hooks of your choice (we chose these)
- Sisal rope
- A drill (use the 3/4″ drill bit)
Instructions:
1.Drill a hole in the 4 corners of your board
2. Insert two cords of equal length into the holes so that the cords run parallel to each other along the width (short side) of the board
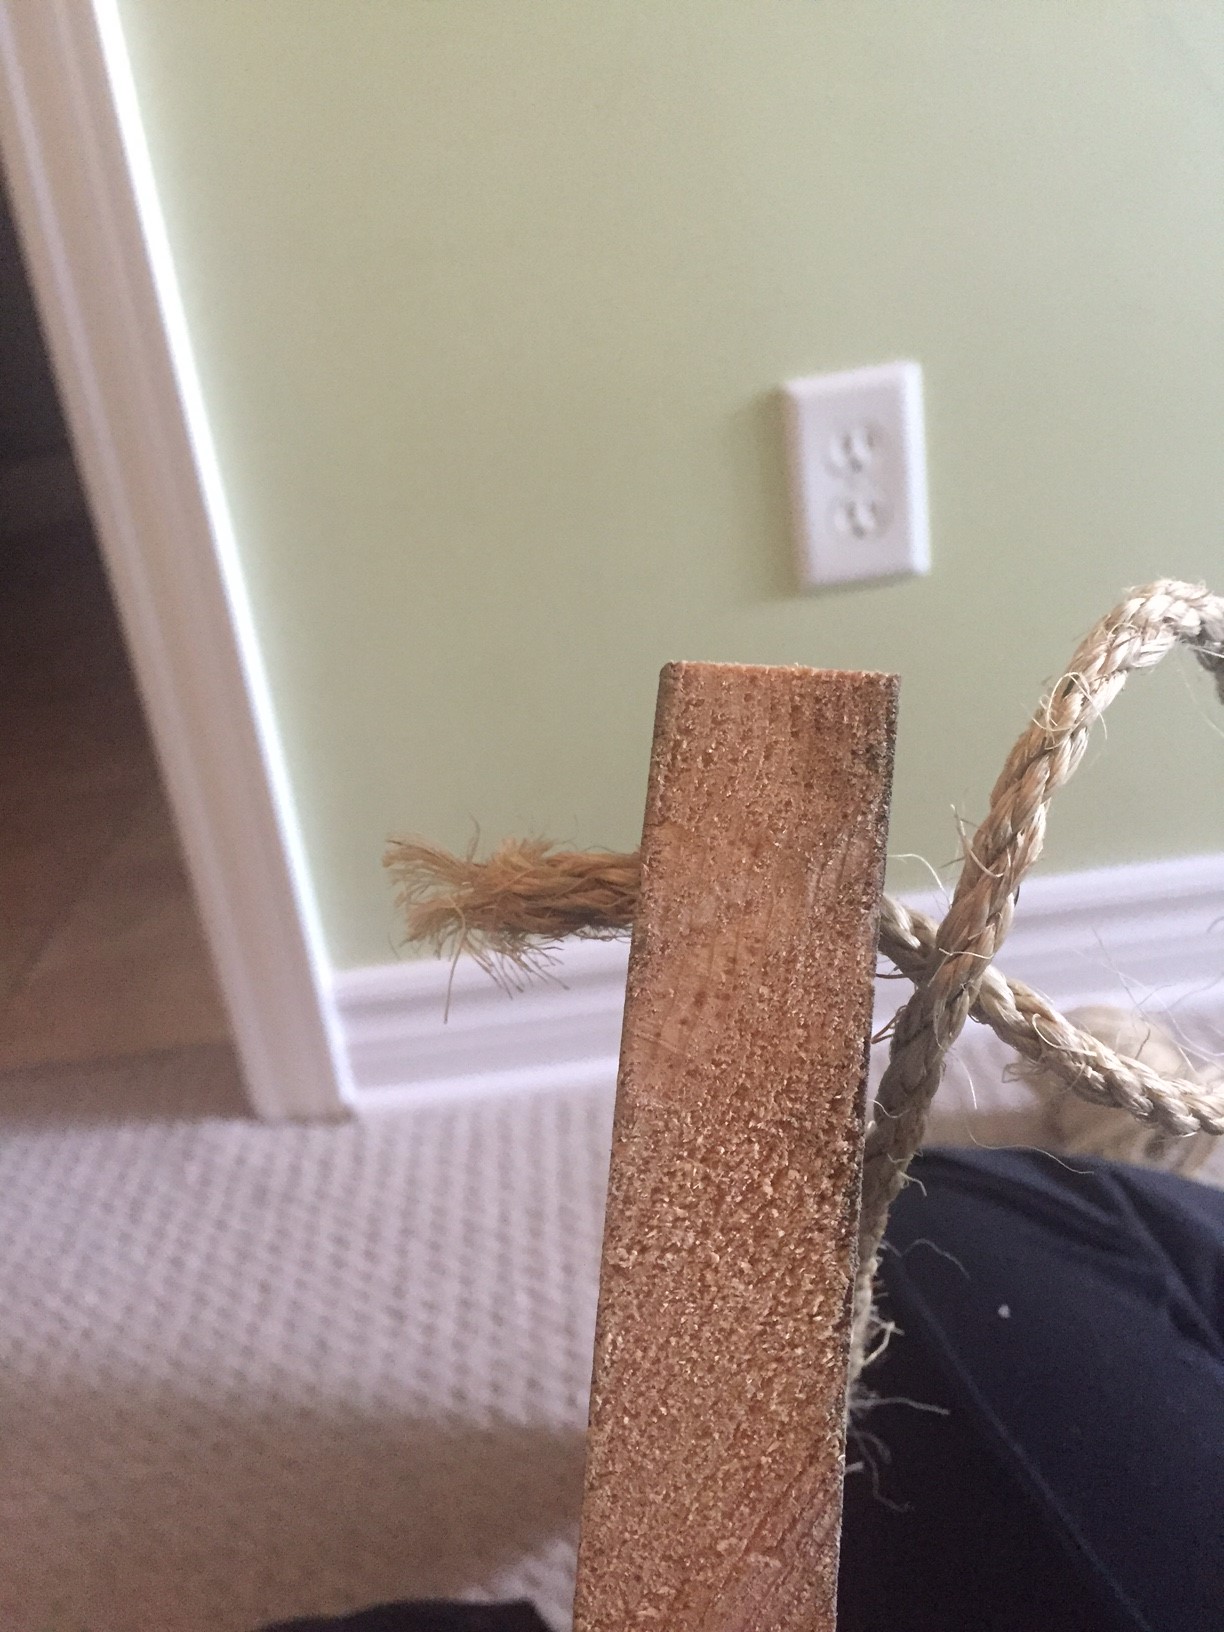
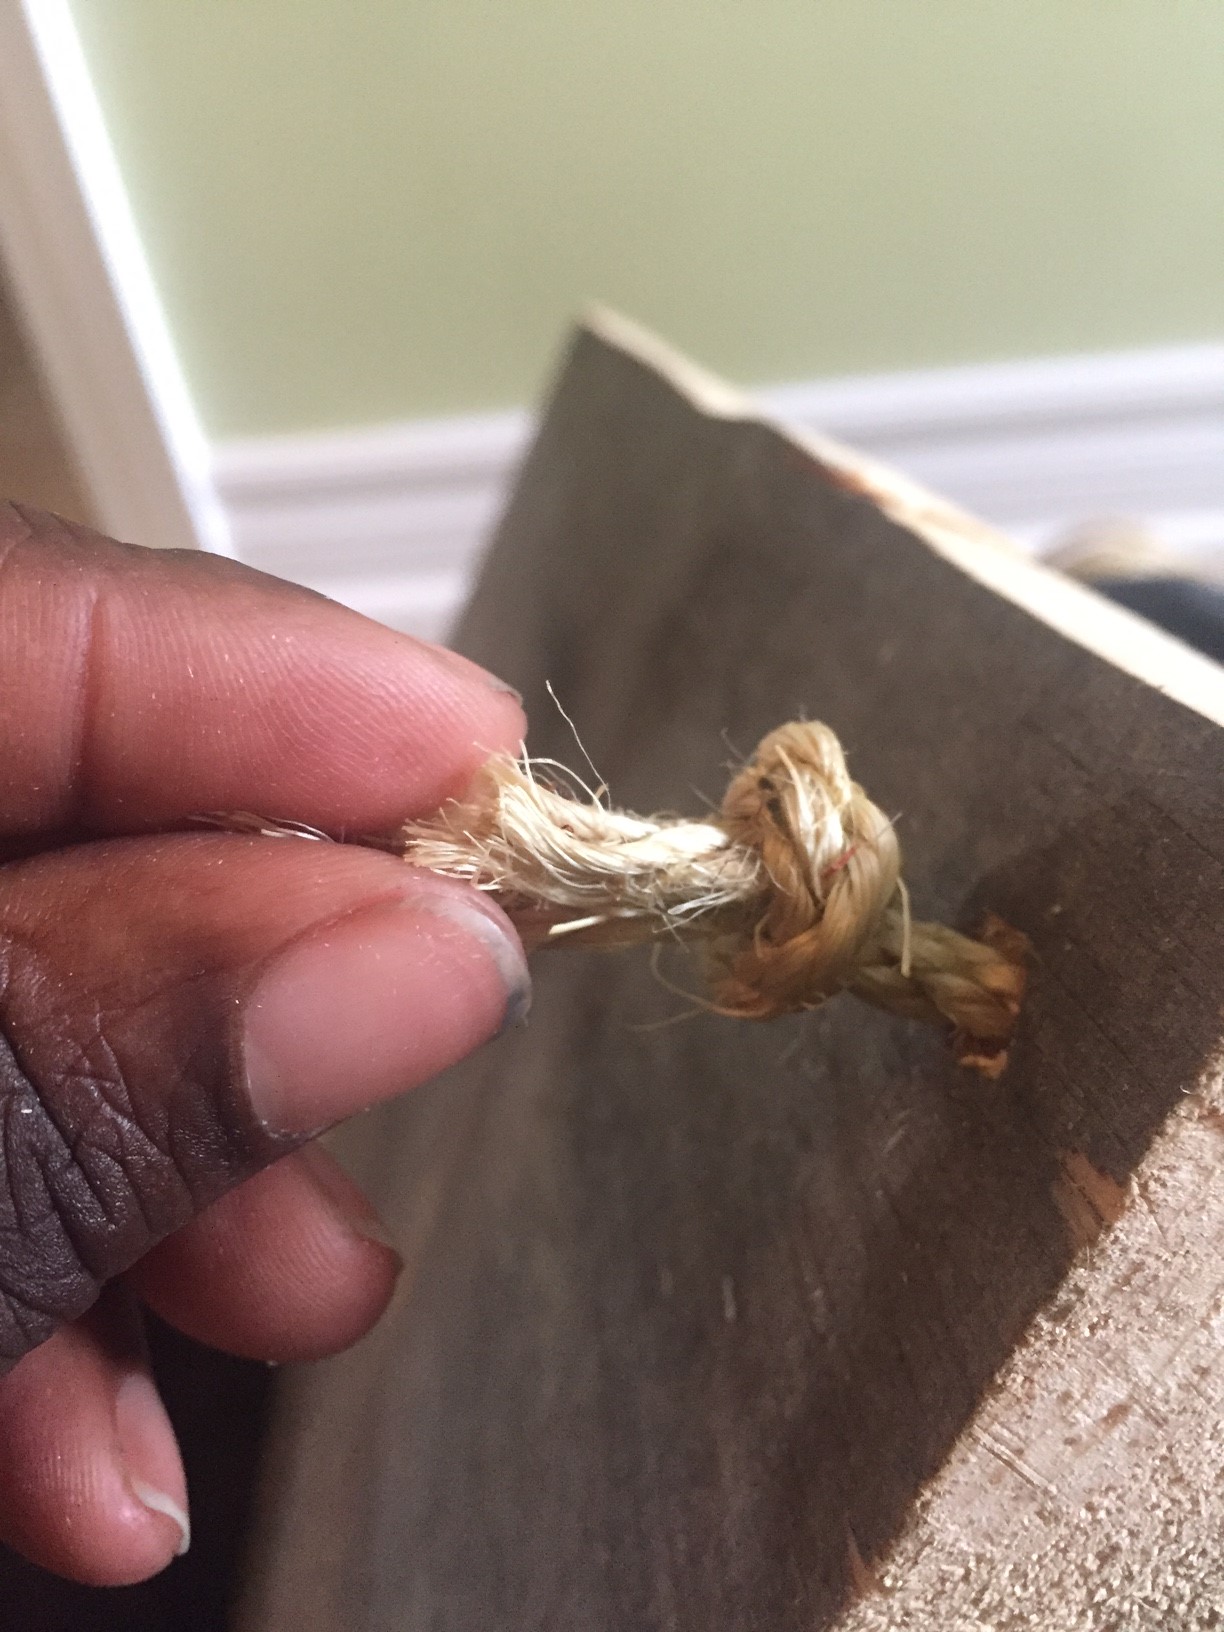
3. Make a tight knot at the bottom of the shelf
You are now ready to install your shelves on the wall with the hooks of your choice
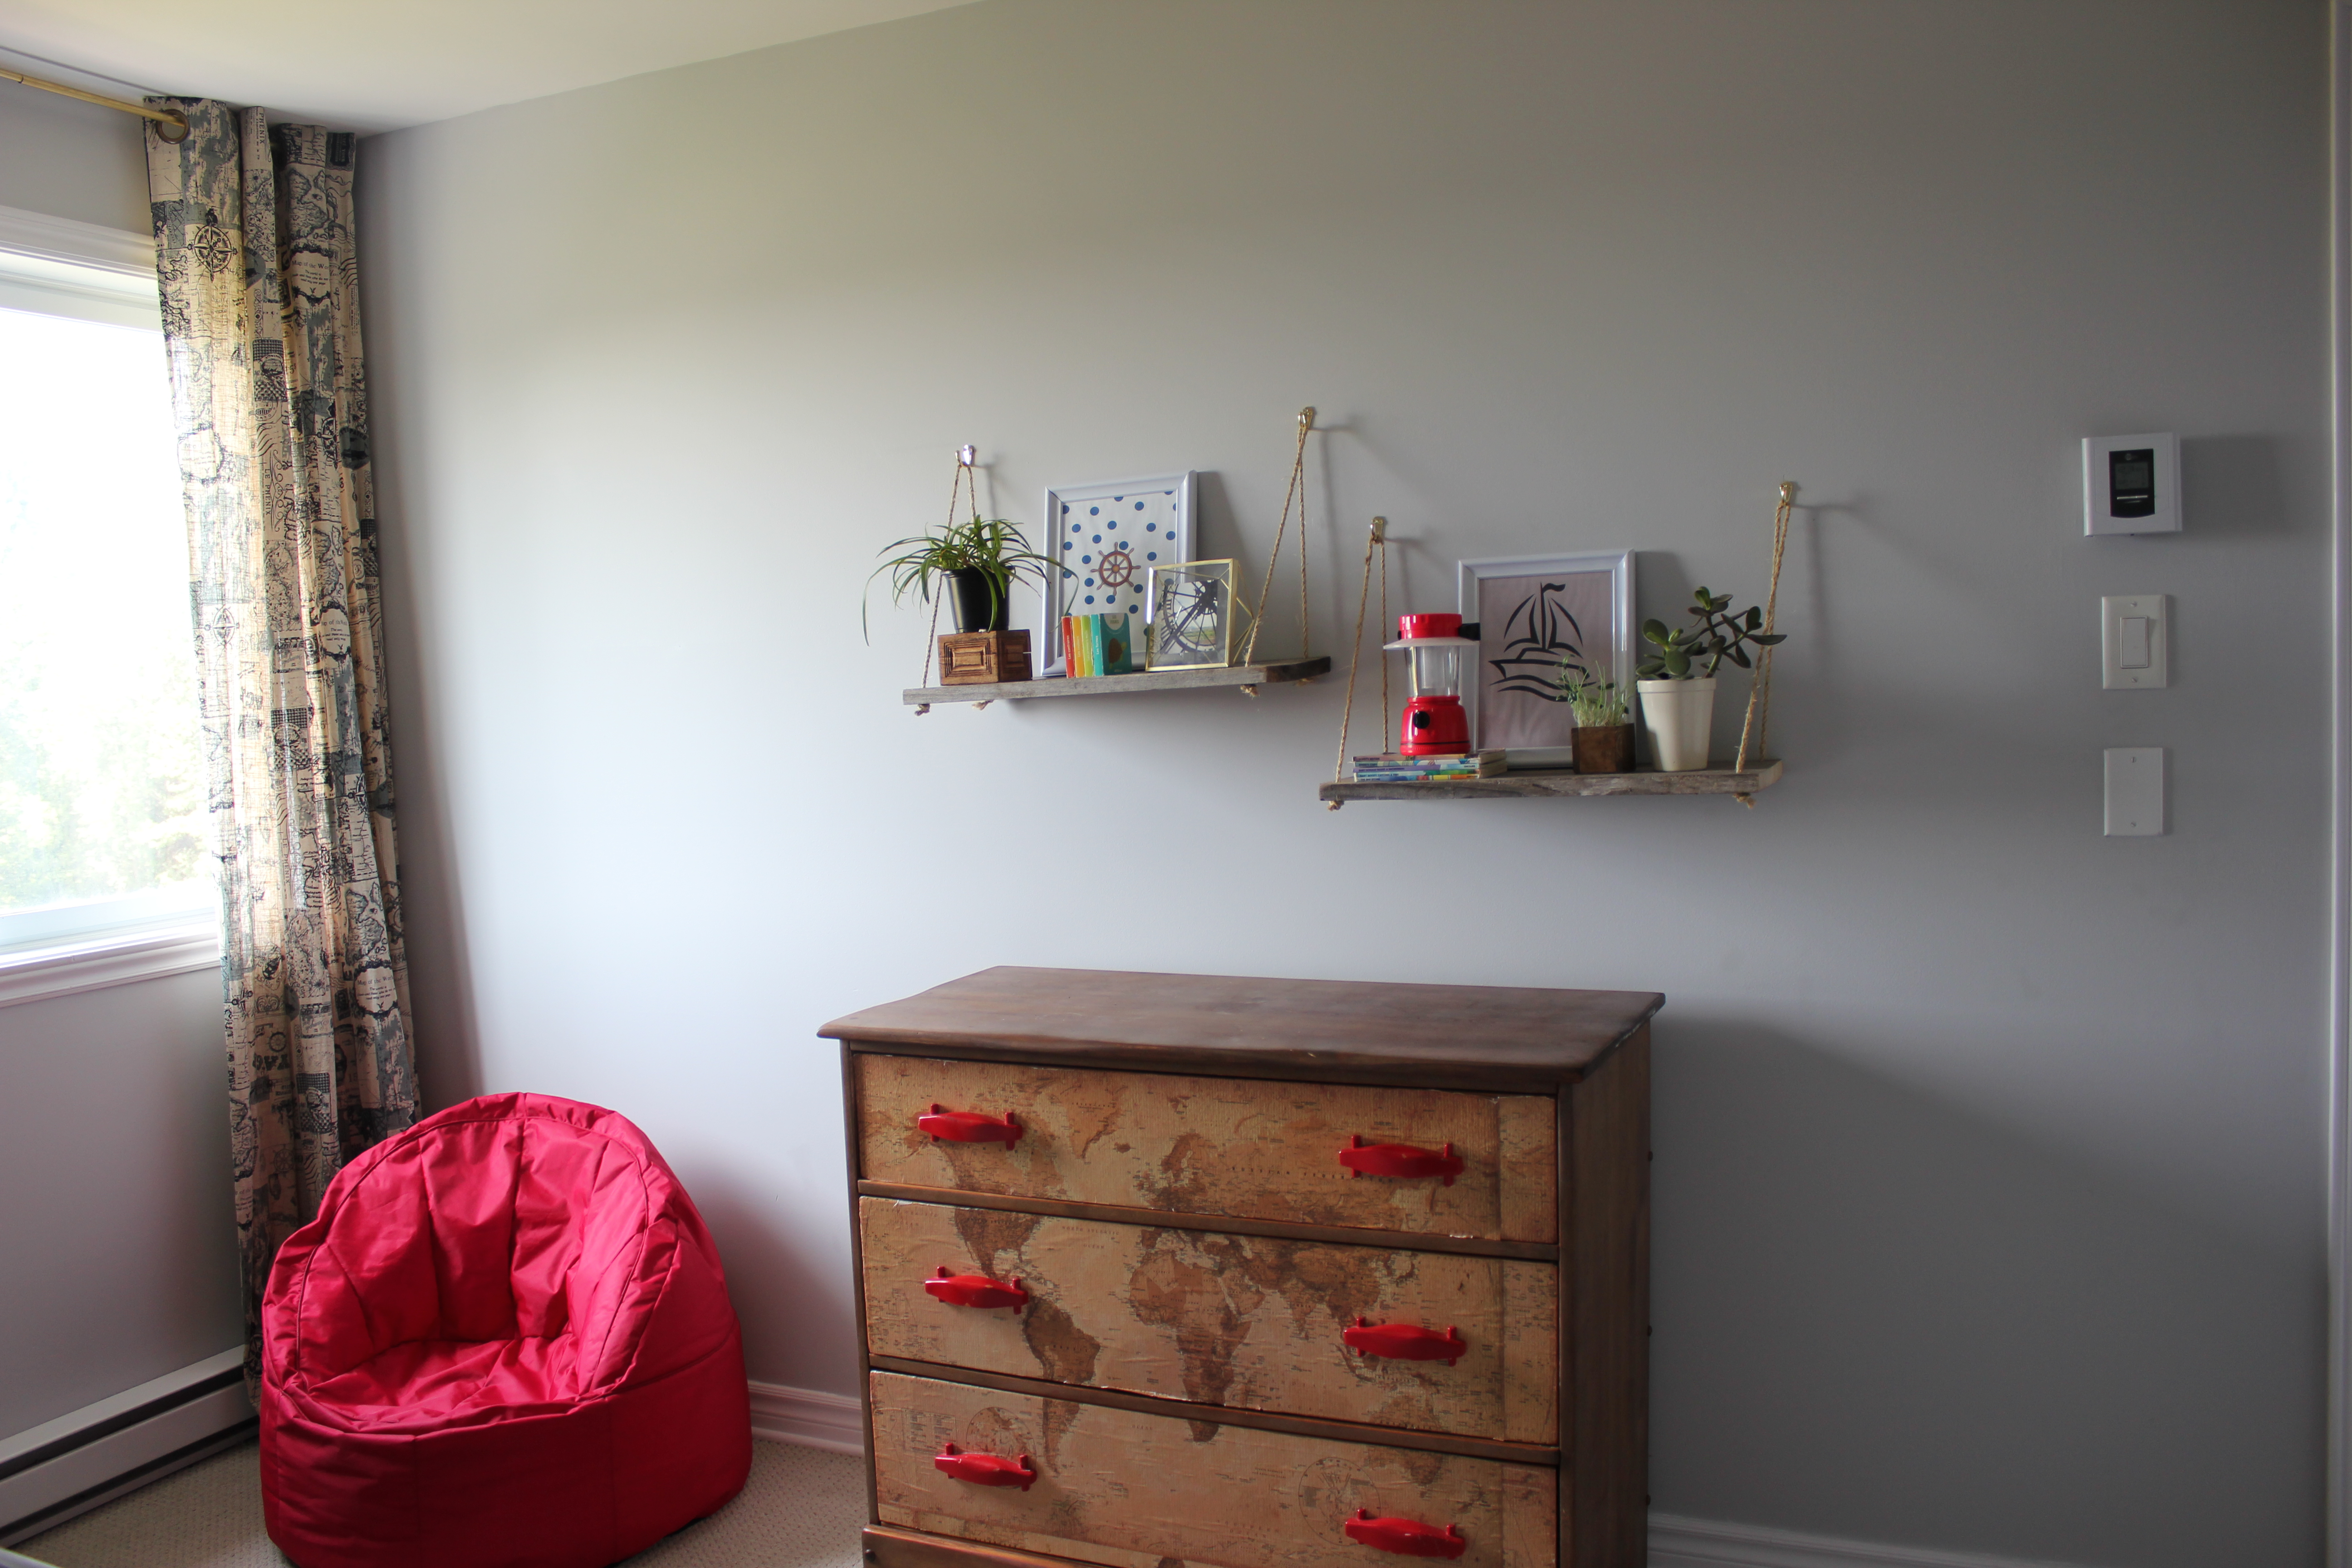
If it’s for a home you intend to keep, shelves are a great way to add personal items like pictures, collectibles or awards, but for staging, keep the shelves free of highly personalised items. I like to add one plant, a stack of books and a little art canvas.
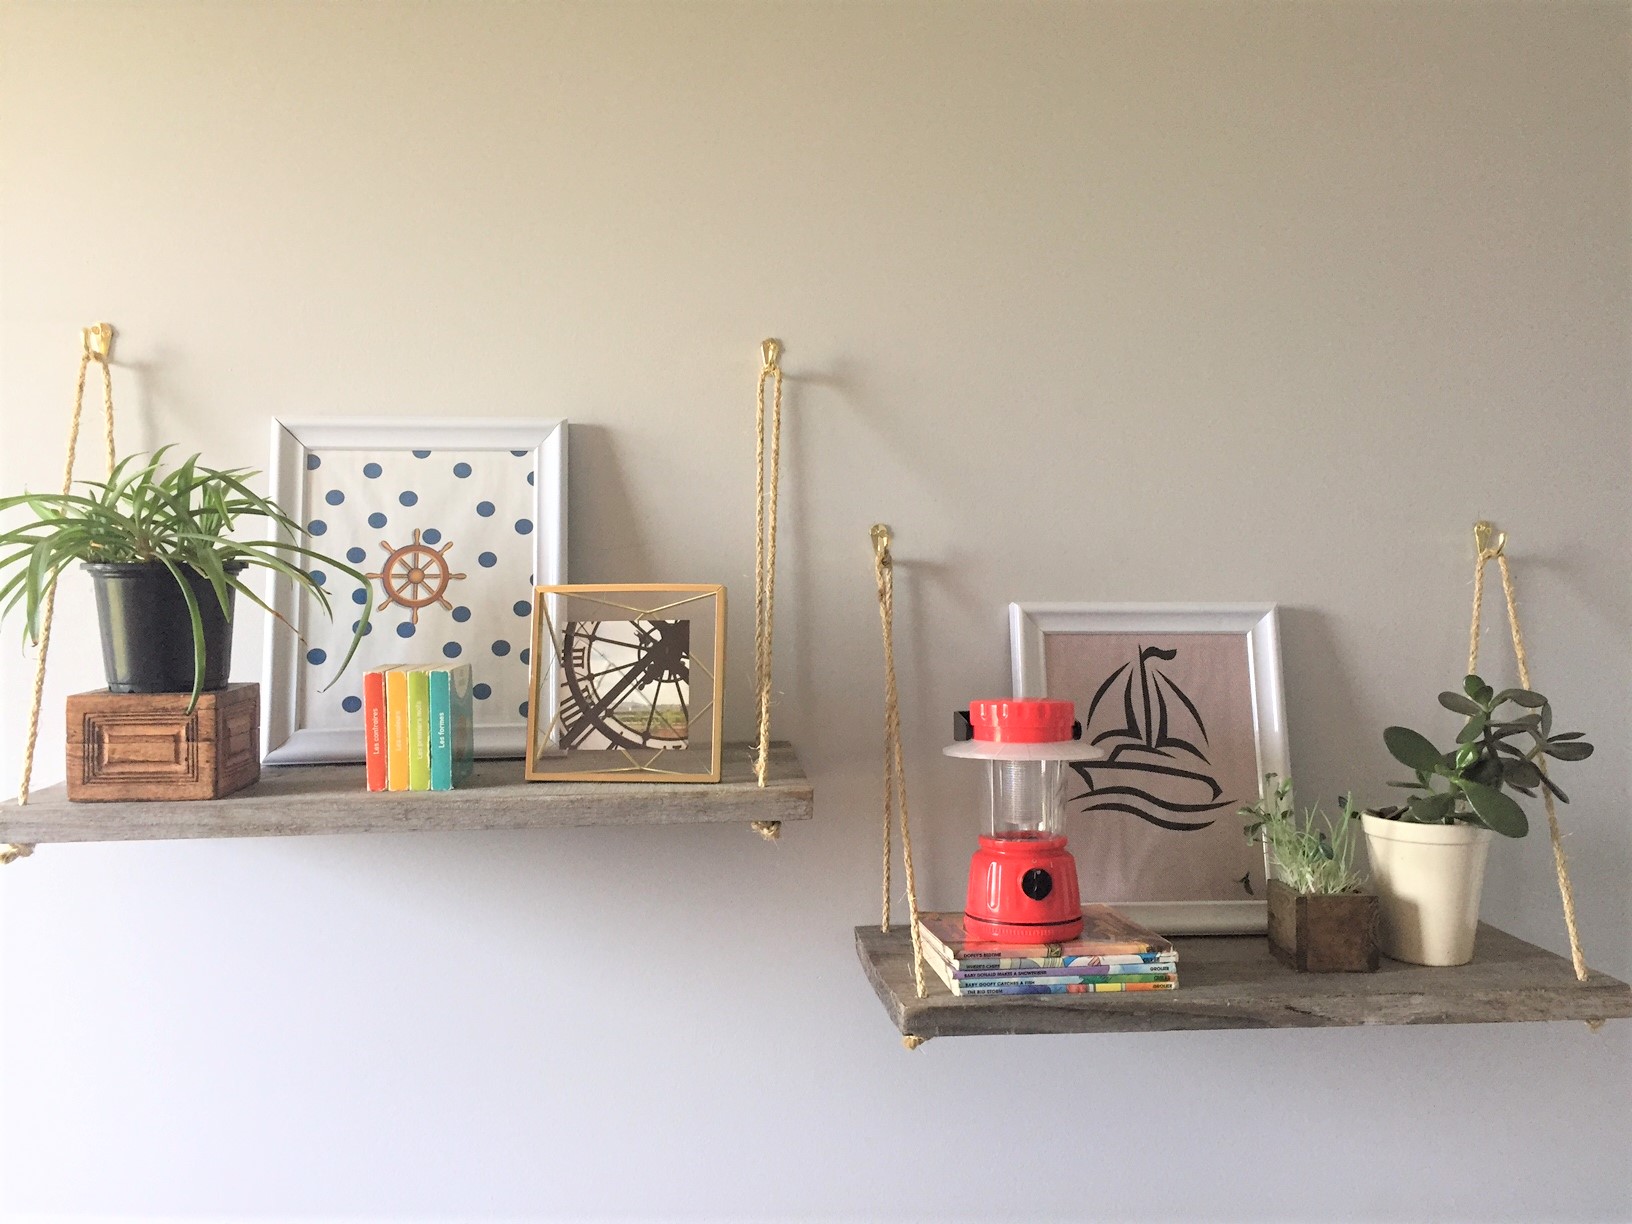

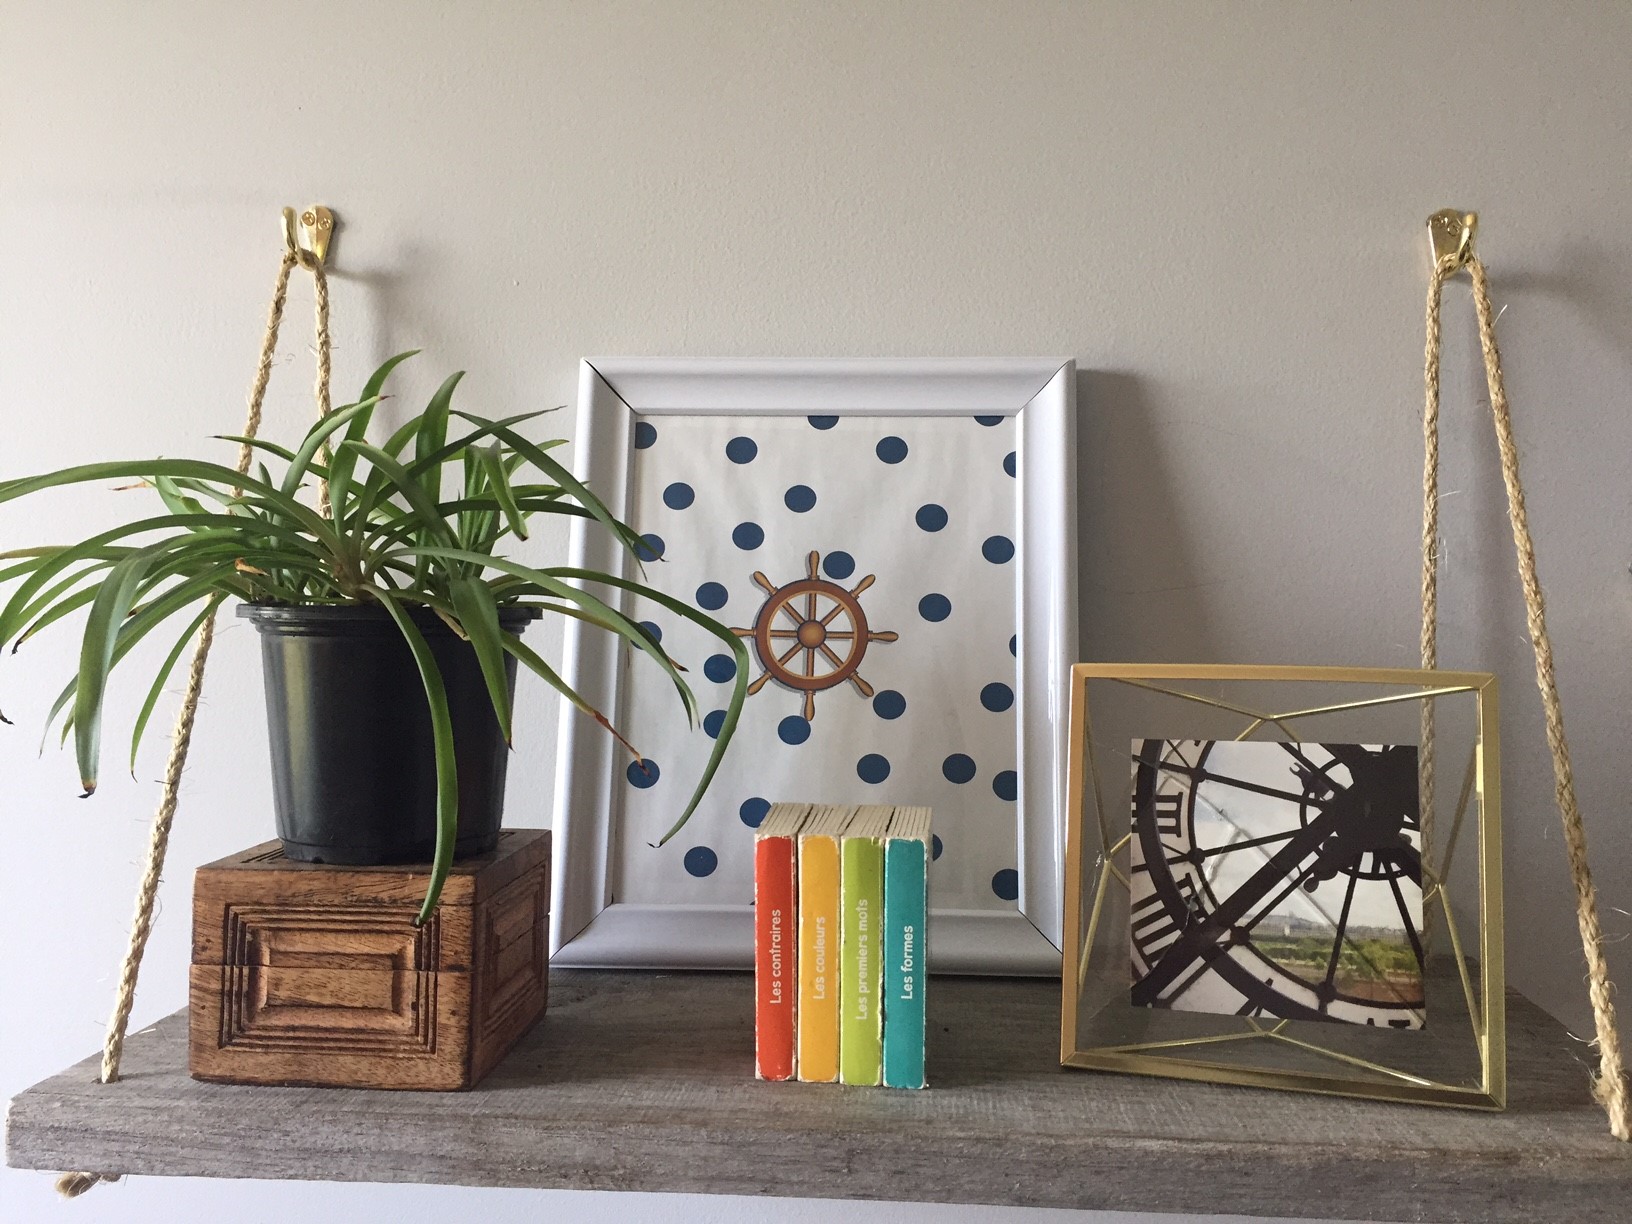
Staging doesn’t mean boring- add personality to your walls!

